Before you get started
If you’ve never made your own Christmas cards before, one important piece of advice is to leave yourself plenty of time. Ideally, you want to start planning how to make them in early December.
There’s a couple of key questions to consider at this stage. Firstly, just how many cards do you want to make? And how much time can you dedicate to this activity?
In answering the second question, don’t let the threat of boredom be a concern. This will be fun. But do consider your other obligations. How much time can you afford to set aside for this, alongside work and other Christmas preparations? If it helps, think of this as a form of meditation. Make time for this and all your other activities will benefit.
The next step is to divide the number of cards you intend to make by the amount of time you’re proposing to spend. The result is how long you have to make each card.
Now ask yourself - ‘what am I capable of making in that time frame?’
What crafty and creative skills do you have? And don’t say ‘none’ - if you’re a writer, text-heavy cards might be the way to go. If you sew, you can stitch pieces of fabric into your cards.
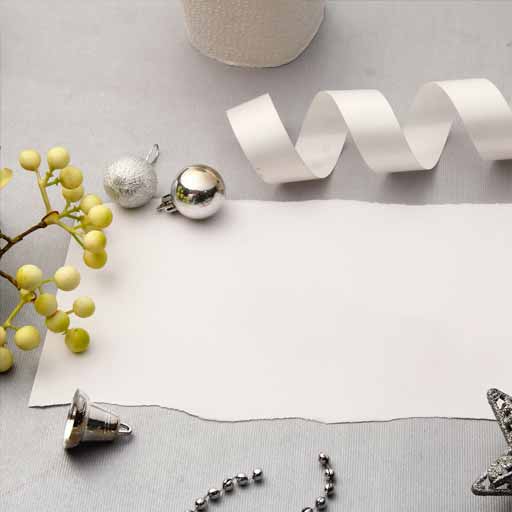
Finally, prepare your equipment. Let’s start with the bare necessities: choose your card stock, with enough envelopes of the right size, or paper to make them with. You’ll want a cutting implement if your card isn’t already cut to size. And you’ll certainly need at least one good pen.
Now we can get started.
Level One
Let’s set a baseline. Perhaps you really are very busy, or feel obliged to send hundreds of cards this year. You came here because you feel disquieted by the notion of sending your Christmas greetings with printed messages from a bulk gift personalisation site. But you do want to send something unique.
There’s a simple compromise here: use a photo card printing service but have them delivered to you, blank on the inside. Then you can individually write in each one, and post them yourself. It’s always an option to get a bit creative with the insides of the cards.
But suppose you’re here because you’d really like to handcraft at least some of your Christmas cards this year; what’s the easiest way to go about that?
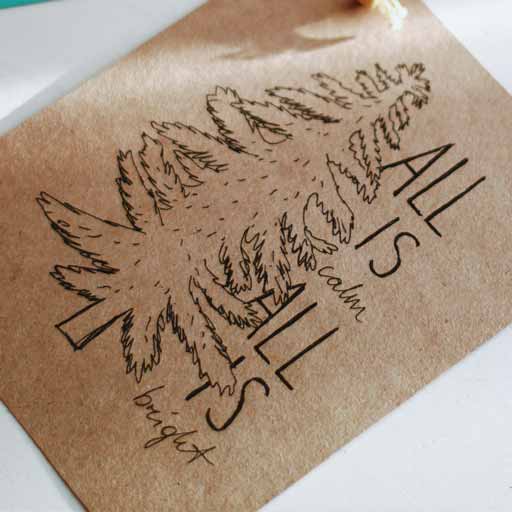
The truth is, even if your drawing skills are atrocious there are ways to make attractive designs.
You can transform a simple drawing into something cute and surprising by using splashes of colour and small details like sequins or stickers.
Level Two
Perhaps you’re not confident about your drawing skills but you’re still willing to get a bit crafty. In that case we can think about breaking out the glue, a ruler, some scissors and all sorts of bits and pieces.
For the cover of your card you can use buttons to make shapes. They could play the role of baubles, you can use just one to serve as the nose of a snowman, or you might stack them up into a tree shape.
String, ribbon or even plant matter like rosemary sprigs can serve to give your card life. You can add small details to whatever shapes you create using a pen. If you want to draw something a little bit more elaborate, consider starting with a light pencil and using an eraser to correct the shape. Once you’re happy with the drawing, go over it with a heavy pen like a fibre-tip.
How about the inside of your card? One option is to write a longer message than those typically found in commercial greetings cards. If you don’t feel like writing much, you can go down a more decorative route. An easy approach to this is to create a ‘frame’ for the inner-right page.
To create your frame, either use a ruler and pen to create four incomplete borders at the edges of the page, and then carefully join them up with rounded corners, or consider using string, decorative tape, or even sticking a smaller piece of white paper into a rich-coloured card.
Level Three
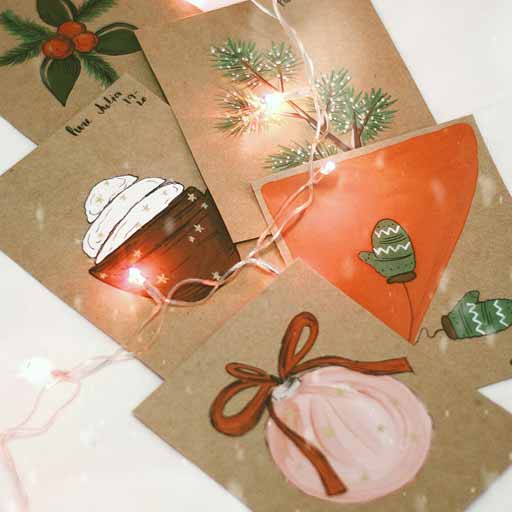
At this level we’re starting to employ some technique. You still don’t need to be a great artist, but ideally you can either handle a bit of paint, or you’re not afraid of some accurate cutting, folding and sticking.
Watercolours are a great choice. You could go with a ‘spilling out’ style that means you don’t have to worry about mistakes. We have included a video for some inspiration:
The best kinds of markers to draw or write over watercolours are gel pens like the Uni-Ball Signo range. Consider using white to go over deep-coloured paint, or a fine black pen to draw the true borders of shapes, with the paint ‘spilling out.’
If you’d rather get crafty with the scissors, you could attempt a 3D pop-up interior for your cards! Here’s a tutorial from Sweet Teal.
Finally, if you want to create a professional-looking design, consider placing a white sticker in the centre of the page, for your message, so that your illustration is interrupted by some clean and crisp whitespace.
Level Four
Now we’re getting serious.
We’re certainly going to need a craft knife, and probably plenty of extra paper, card, and other materials!
First of all we can use wrapping paper to decorate the inside or back cover of the card. This is a delicate operation that requires some precision, both in cutting and sticking. For something more advanced, you could cut the wrapping paper into shapes.
Gold leaf also produces a beautiful effect, either as an outer edging for your front cover, or to fill in shapes in your design.
Want to try something a little unorthodox? Cut your design out of your front cover using the craft knife, and either apply a paper backing to the inner left side, or ensure that you reserve some space on the message side so that the effect is clean and attractive when the card is closed.
We can still go further. Aren’t rectangular cards boring? Maybe it’s time for hexagons or pentagons.
It’s worth mentioning here that hexagons (but not pentagons) can tessellate perfectly into your card sheet, so you can minimise waste. Simply draw outlines of pairs of side-by-side hexagons, and cut around the pair.
The more complicated part is what to do about the envelope. One nice solution is to cut some paper into a flower shape, with a single hexagon or pentagon of the same size as your card at the centre, and large semi-circles emerging from each side. The flower petals can then fold down and stick together to form the back of the envelope. Here’s a handy video tutorial.
Last but not least, how about making some leaves or flowers out of paper? For leaves it can look great using two different shades of green paper, with each leaf folded down the centre and layered onto the front of your card to form a wreath. Flowers can be achieved using almost the same technique, but simply using a different colour and pointing the leaves outwards to form petals.
Level Five
Finally, let’s explore some advanced techniques.
Artsy Craftsy Mom has a fantastic guide to constructing a 3D Christmas tree using paper quilling. It’s a fun project, but it does require a specialised quilling tool if you don’t want to spend hours on each card!
As an alternative to drawing, you can use your stitching skills to create patterns for your card cover. Even a simple outline with thread can add a tactile dimension to your card. Of course, you can go further and stitch pieces of fabric into shapes to create your desired design.
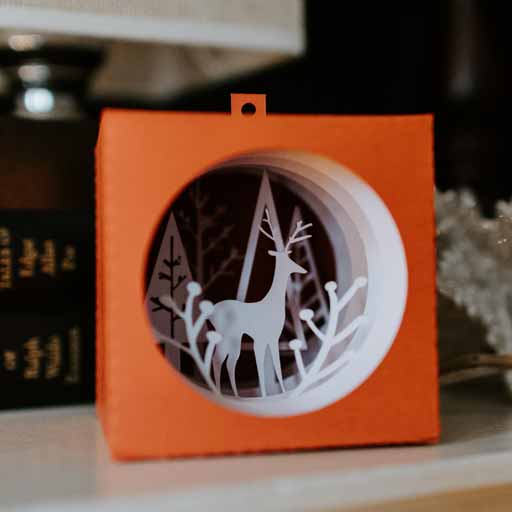
Here’s a wild idea from Jennifer Maker: a shadow box that makes your Christmas card interactive, revealing more of your design when the recipient pulls a tab at the top of the card. You’ll need some good adhesives and cutting gear to make this work, not to mention a decent amount of time to spare.
Another exciting interactive card idea comes from May Park. She’s written a detailed tutorial on how to build a snow globe into your front cover! This might take a little bit of skill or patience, but you don’t need any particularly specialised equipment besides some transparent paper like acetate, to serve as the window into your winter wonderland.
Christmas is a time to get sentimental
Putting a bit of unusual effort into rituals like these is a great way to show people you’re thinking of them. If it seems like a bit too much, that’s perfect. That’s what this time of year is all about.
Even if you don’t feel inclined to get crafty, you can still send meaningful cards. At the end of the day, a greetings card is a short letter. Tell your recipient what’s on your mind, write them your sincere wishes for their health, happiness, rest, success, or whatever else you’re thinking of.
Whether you’re bringing a box of colourful materials and a bold vision to this project, or a love of words and your favourite fountain pen, it’s time to put on some Christmas music, make some hot cocoa and get creative.
